Adams Registry Editor
The Registry Editor lets you edit the settings that the Adams Toolbar stores for the different Adams products. It appears whenever you create a user library or set preferences. The elements of the Registry Editor are shown in the figure below, as they appear when you select to view all elements in the Registry Editor. To help you find files, the Registry Editor provides a file browser where you can enter a specific file name or browse for a file or directory.
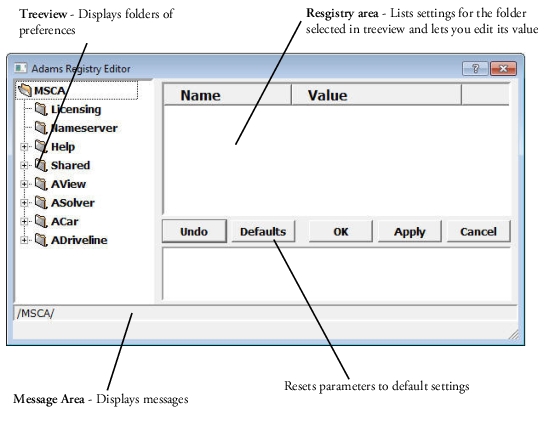
To make a choice in the Registry Editor:
1. In the treeview, click a folder that you want to change or view.
The Registry area displays the contents of the folder you selected.
2. Click an item listed in the Registry area.
The value of the item appears as a text box, option menu, or check box to let you change or set the value. If the registry item that you selected cannot be changed, nothing changes.
3. Select another item, select OK, or select a different folder in the treeview.
Note: | If you modify a registry item, and then select a new folder to browse in the treeview, the Editor prompts you to save your modifications. |
4. Select No and then OK to save your changes or select Yes to exit without saving the changes. You can also select Always throw away changes and switch directories so you no longer receive this message.
To browse for a file or files:
1. Right-click a text box that requires a file, and then select Select A File or Select Files.
A file browser appears.
To help narrow your search, you can browse for a specific file type using a file extension. For example, list of object or source files have the extension *.lst. Therefore, to search for only list of object or source files, set File Type in the browser to *.lst. You can select multiple files by clicking each file name you want.
2. Select OK.
The dialog box closes and the current text box displays the files you selected.
To browse for a directory:
1. Right-click a text box that requires a directory to be specified, and then select Select A Directory.
A directory browser appears.
2. Browse through the directories and click the one you want.
3. Select OK.
The dialog box closes and the current text box displays the directory you selected.