Running with SCALEXIO® (no hardware)
Note: | This tutorial assumes you are using either 2021-A of dSPACE. If you are using a different version, then the below process will not work as expected. You will need a license from dSPACE to complete these next steps. |
1. Launch dSPACE ConfigurationDesk® and import the FMU model created in preceding step.
a. Click on New project + Application and then click on Add Model to import fmu
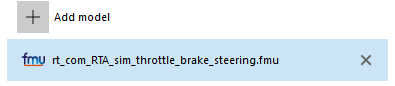
Click on Add model from file and then browse for the FMU created earlier
2. Click on Add Hardware to add SCALXIO machine hardware details
Enter SCALEXIO machine details

You can change the Root Directory, Project name and Application name if needed
3. Click on Create to create new project and application.

A ConfigurationDesk message window will pop up. Close the window.
4. Click on Build to set build configuration and task configuration settings

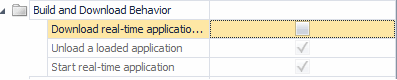
Select the "Build Configuration" tab and then select "Global Build Settings" then uncheck "Download real-time application after build" as shown in the image below:
5. From the Task Configuration tab set the period and number of Accepted overruns as shown in below image; that is, set Period from 0.001 to 0.002 and Accepted Overruns to 1000

6. From the Build menu and then click on Start to start the build
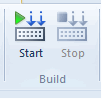
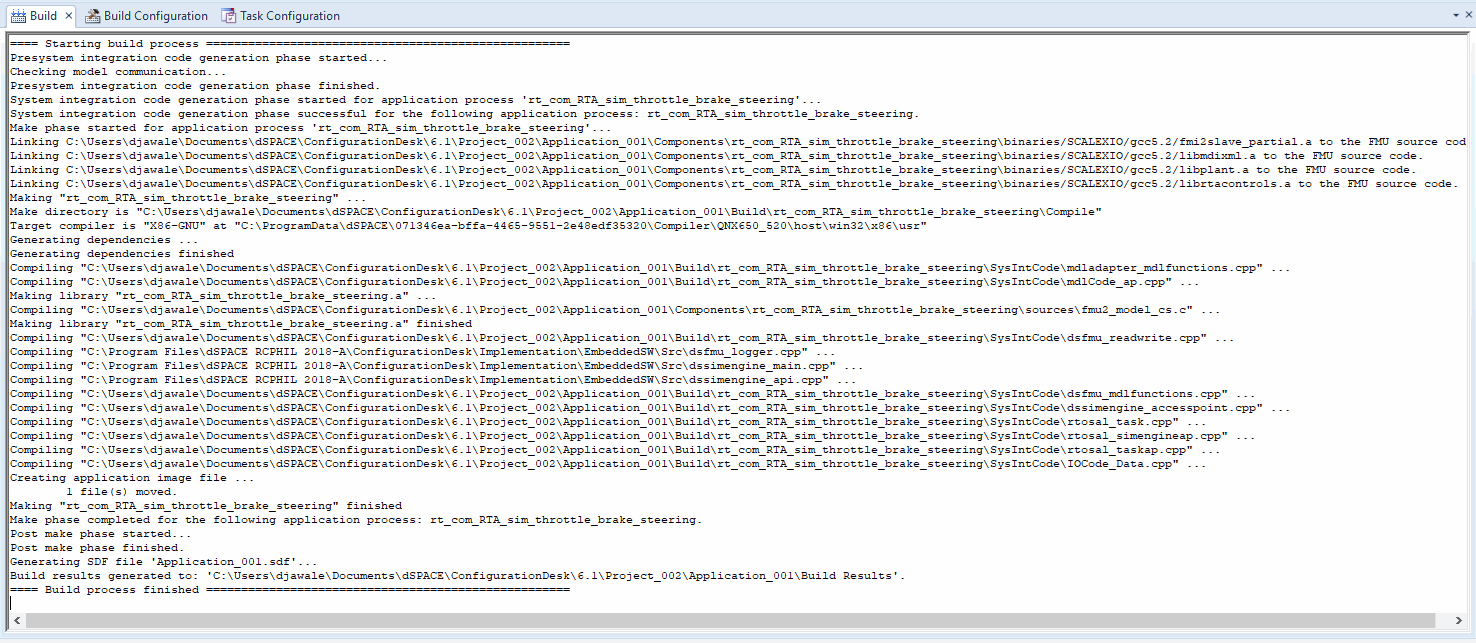
Then the build process will start and display messages in the Build tab window as shown below:
7. Login to the SCALEXIO machine as the root user (Linux host) using Mobaxterm through its IP address - 172.16.143.23 (replace with the IP address in your environment). The PC where the Mobaxterm is running has to be connected to the SCALEXIO (Linux host) via a switch or a router. Enter the following command to start the Adams daemon replacing the highlighted path with the path of your Adams installation… "/apps/Adams/20xx.x/mdi -c python /apps/Adams/20xx.x/controls/utils/adams_daemon.py -x -I 192.168.2.2 &"
This starts the Adams daemon on the Linux host of SCALEXIO which waits for a connection from the FMI Parent running on the 32-Bit Linux host.

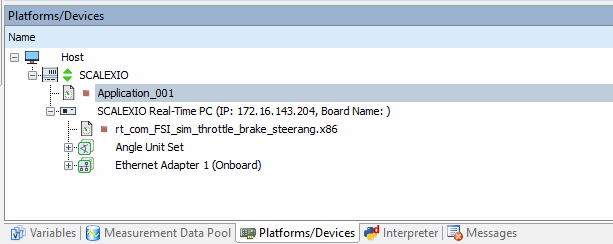
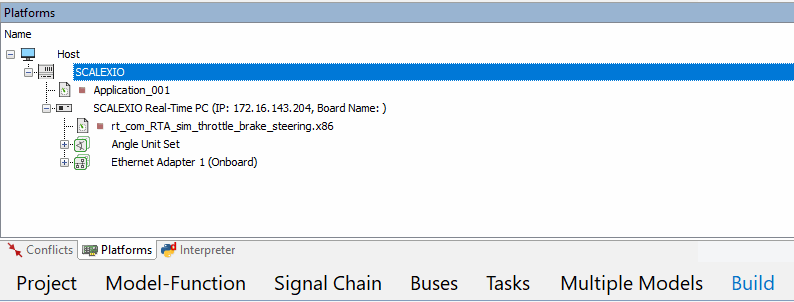
8. From the Platform tab, right click on SCALEXIO and select Real Time Application → Load. Browse for the file "Application_001.sdf" under the "Application_001→ Build Results" directory. After the application binary is downloaded it looks as shown below.
Before Load:

After Load:
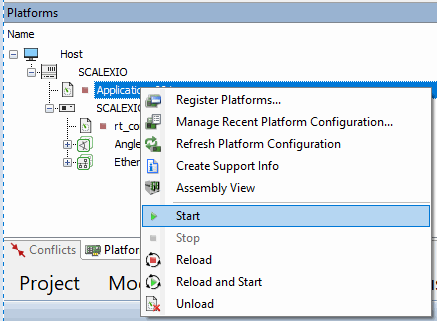
9. Right click on Application_001 and select Start option. To start the co-simulation between dSPACE as parent and Adams as child.
Before Start:
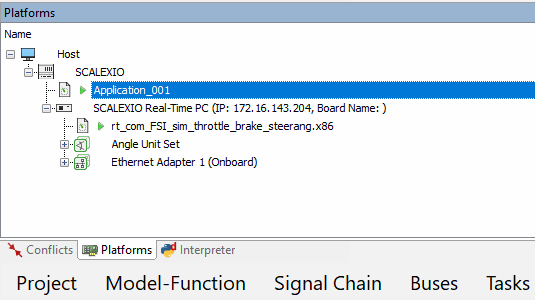
After Start:
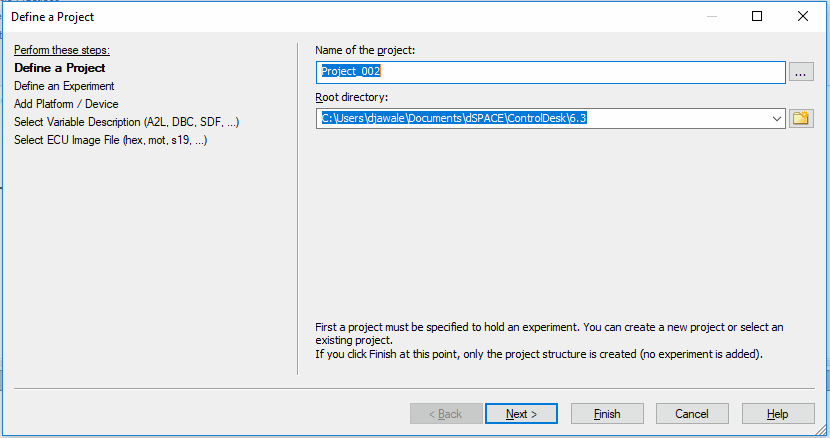
10. Launch dSPACE ControlDesk®. Click on "New project + experiment name" to define a project with required input
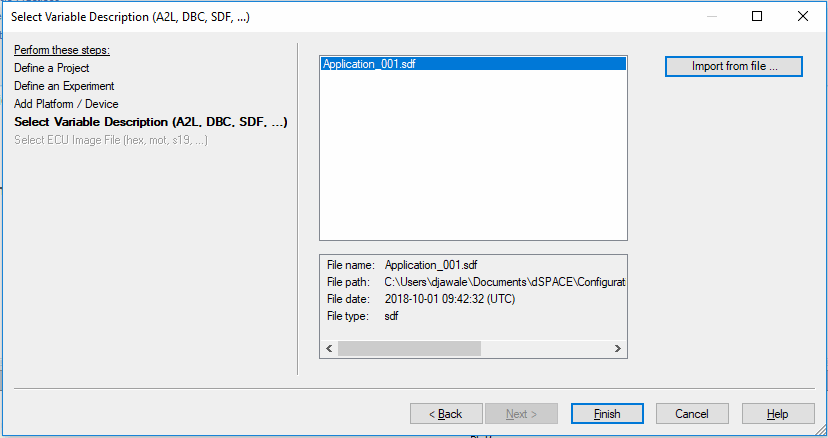
11. Click Next → Next → Next. Then click on "Import from file", browse "Application_001.sdf" file under Application_001 → Build Results directory as shown in below mentioned images
Before Importing sdf file:

After Importing sdf file:
Then click the Finish button
12. Click on the Variables tab.
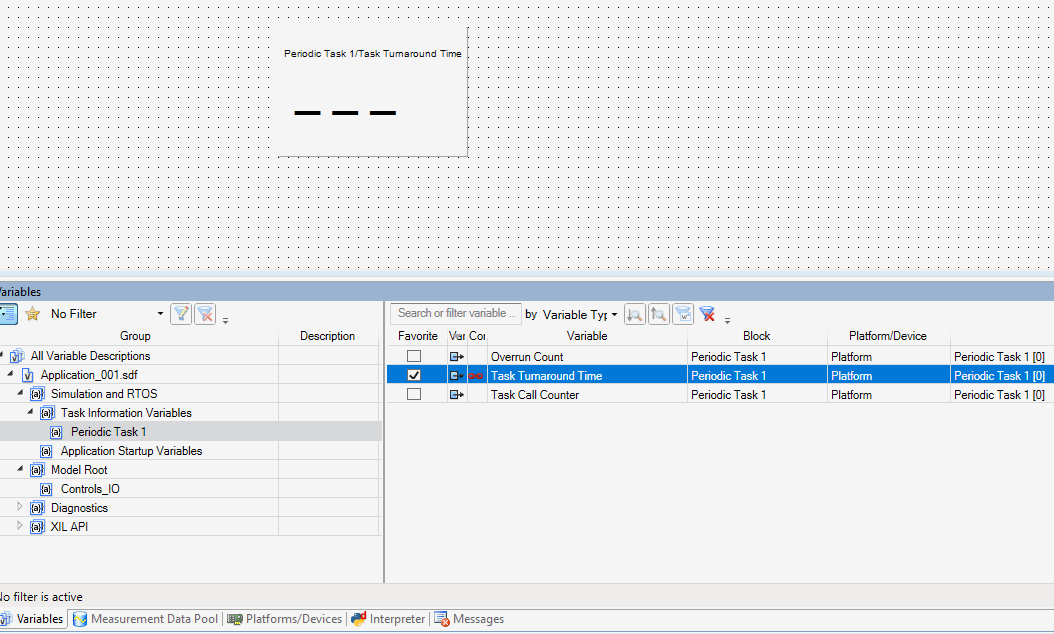
13. Select "Periodic Task1" and then select "Task Call Counter/Task Turnaround Time". Drag it to the Layout1 window by selecting the Display option as shown below.
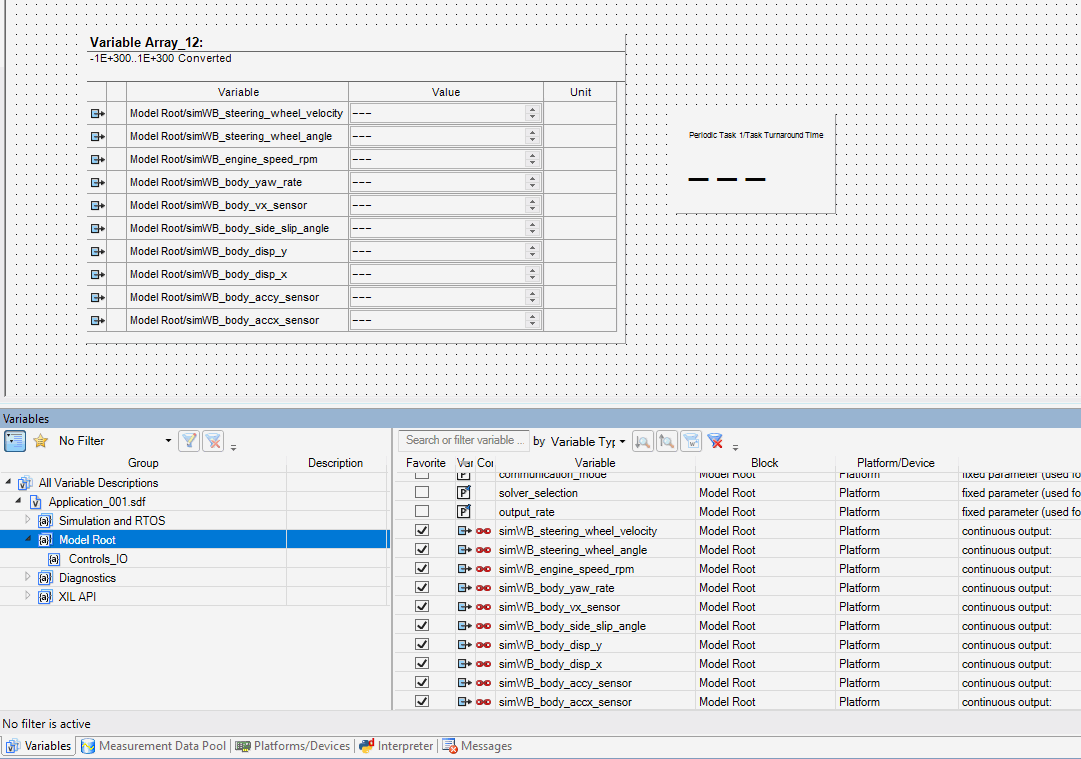
14. Select "Model Root" and then select all output variables as shown below. Drag to Layout1 window by selecting Variable Array option as shown below
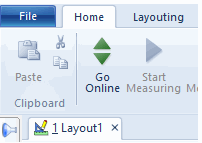
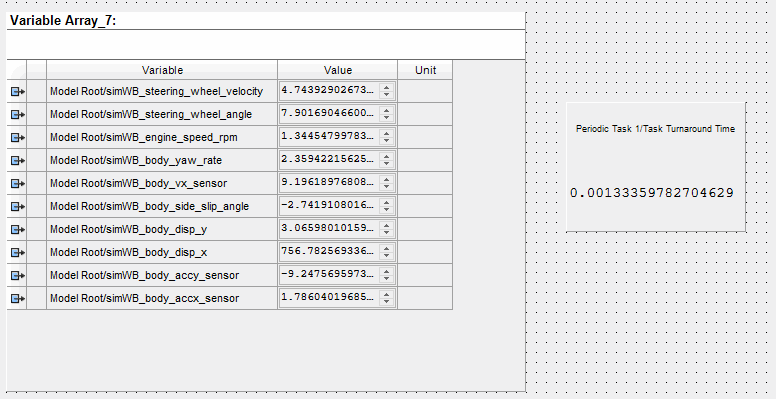
15. Click on Go Online - Start online calibration globally for ControlDesk as shown in below
16. To Stop the co-simulation, click on "Platforms/Devices" tab, select "Application_001" and right click and then select Stop
Before Stop:

After Stop: